

Though it may feel more natural to hold your phone in a vertical orientation, like the phone on the left in the image above, unless you are strictly posting the video to Instagram, it’s not going to give you the best result.
Filming with your phone in a horizontal orientation, like the phone on the right in the image above, will make your video more aesthetically pleasing and make it more enjoyable to watch when viewed on a television or computer monitor. Plus, you’ll capture more in the actual video.
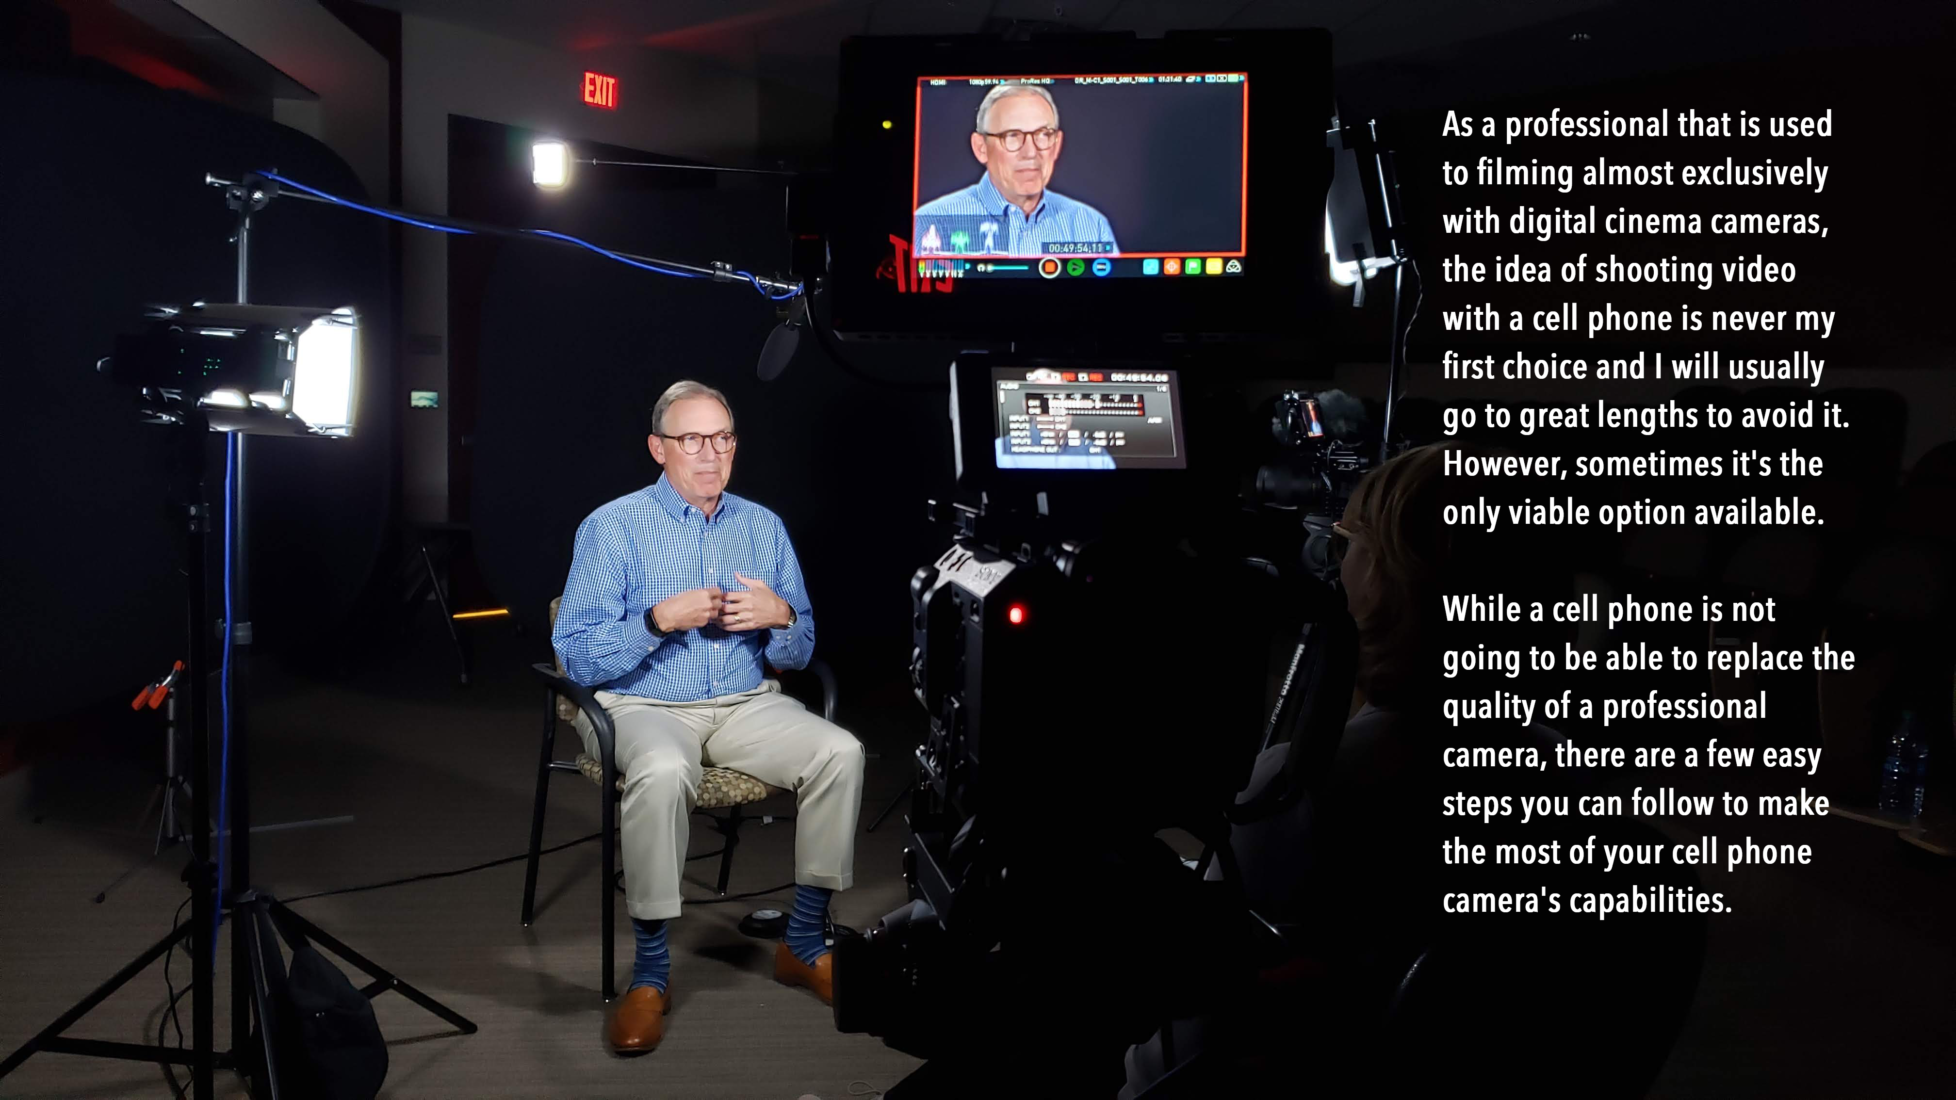
BONUS TIP: If you have the option, you should use a simple tripod (like one of these) to steady your video. If you you don’t have a tripod or if you have to go hand held, finding something to safely steady the phone against can help.

While you probably don’t have access to pro lighting kits, light is still something you need to be aware of and control as much as possible.
There are a couple of lighting issues you need to avoid if at all possible.
Backlight:
Simply put, this is when the light behind your subject is brighter that the light in front. In most cases, it will cause your camera to adjust for the brightness in the background and put your subject in the shadows. Alternatively, if the camera does happen to expose for your subject, your background will be dramatically over exposed. This is one of the most common mistakes and one that is usually pretty easy to fix by adjusting the orientation of your subject to the light.
Direct Overhead Light:
This will cast strange shadows and is usually not very flattering on your subject.
Fluorescent Lights:
Let’s be honest, these aren’t the most flattering lights to begin with. Depending on the fixture, you may have strange color tints or flickers. It’s best to stay away from fluorescents if you can.
Low Light:
Cell phone cameras might shoot beautiful images when the lighting is good, in low light situations, like many indoor or night scenes, most smartphone cameras will really struggle and end up with a pretty poor image.
So, now that we’ve told you lighting to avoid, what should you do?
Whenever possible, position your subject with a flattering light in front of them. That may mean using available sunlight or finding a lamp or two you can use to put as nice and even a light on their face as possible.

Another inherent drawback of filming with a cell phone is the quality of the audio. The audio will often sound distant and will pick up plenty of room echo. To combat this, there are 2 options.
Proximity
This requires you to get as close to the phone’s built in mic as you can, without compromising your shot.
External Microphones
The better option, if possible, is to use a different microphone than the one built into your phone. For cell phones, you can use plug in microphones (like one of these) or use your bluetooth microphone (like your Apple AirPods). Either would allow you to gain proximity to your microphone and still allow you to frame the shot as you would like.

Unlike cameras with optical zoom lenses, smartphones unfortunately just use digital zooms, which are just software tricks that’ll make your subject appear closer but not without creating other issues.
In order to zoom in while recording without losing the crisp, vivid quality you desire in videos, you’ll want to physically move the camera closer to your subject. If you have a smartphone with more than one camera on the back, often one of the extra lenses is a designated “telephoto” lens, designed to give you an optical zoom effect, zooming in without losing detail. If you don’t have a smartphone with optical zoom, you’ll need to get closer to your subject.

Now that we’ve covered all the bases for a good picture and good audio, there is one more step before you hit record.
Go into your camera’s setting and check that you are recording your video in the highest resolution you can. You’ll want to make sure you are recording in at least 1080p, or even 4K if your phone is capable.
Having the highest quality source footage your phone is capable of will give you the best material to edit.